-
Your shopping cart is empty!
Download Printable Version (PDF)
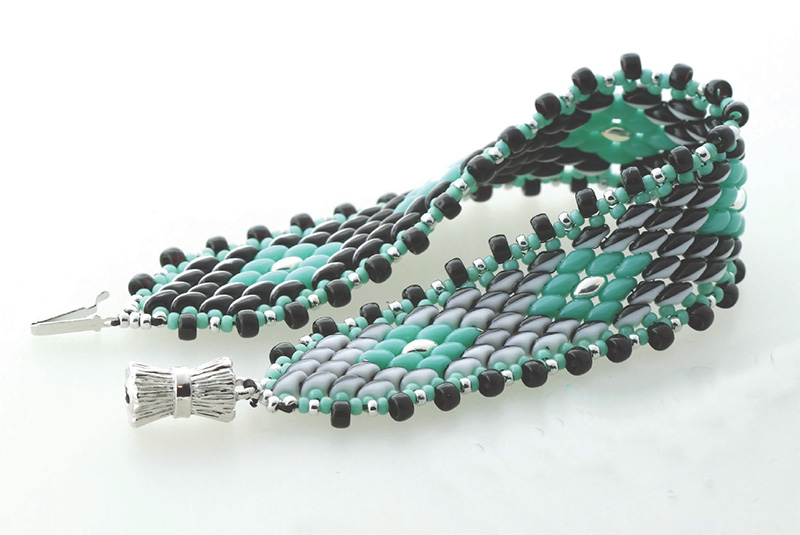
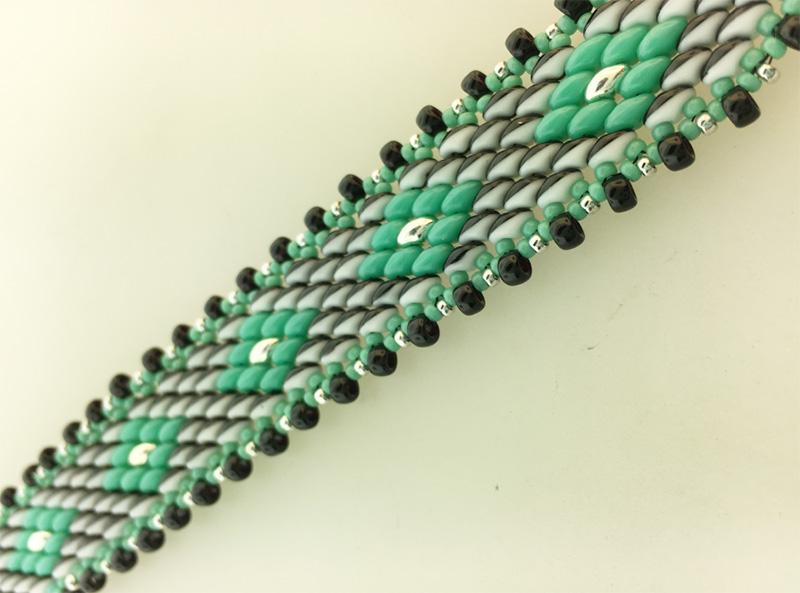
Superduo DUETSTM from BeadSmith create a colour shifting effect that makes your beadwork take on a life of its own as you move!
This tutorial makes a 7.5” bracelet including a 5/8-in clasp. Add or subtract rows of peyote-stitched Duets equally at each end as needed.
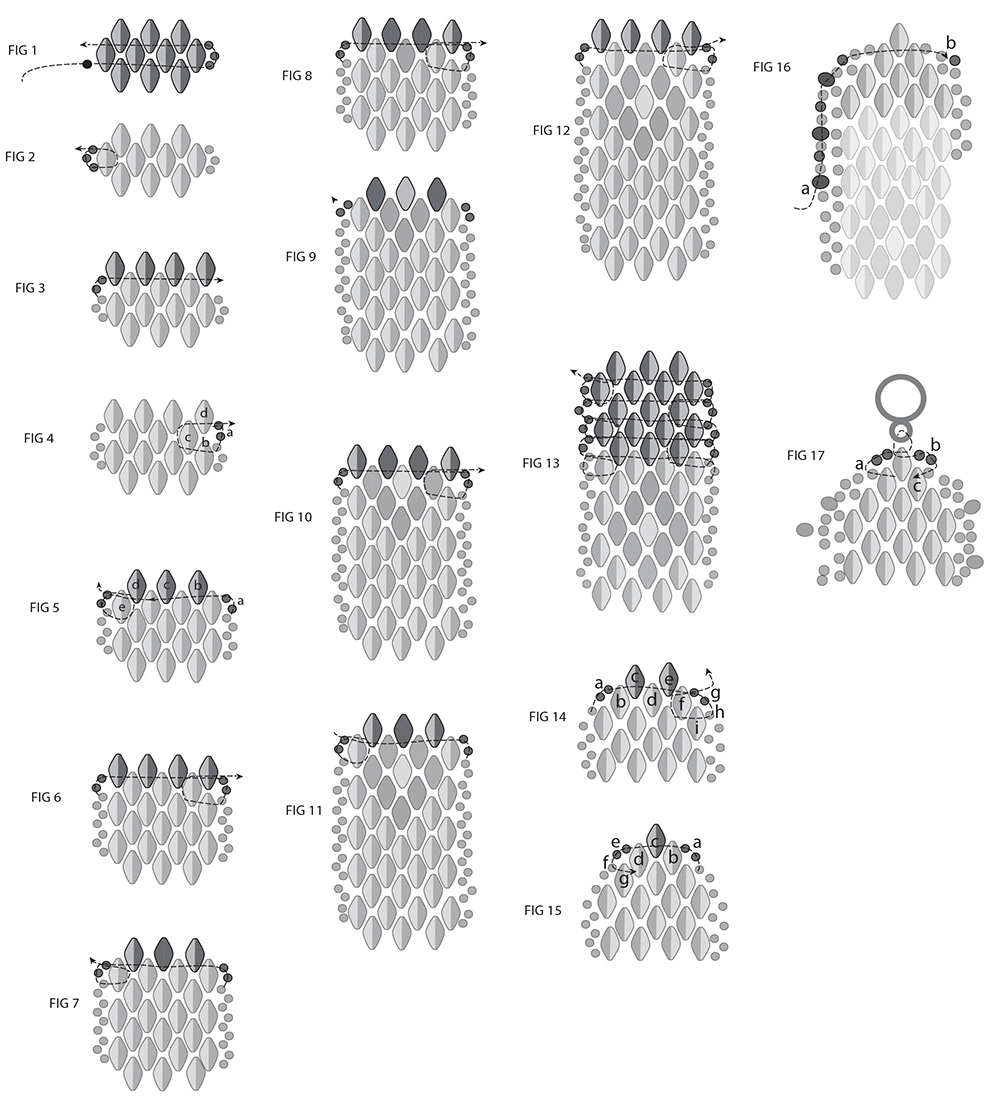
1. FIG 1: On a 1 1/2 -yd piece of thread, string a stopper bead leaving an 18-in tail. String 7 duets though the colour A side. (Fig 1 a-b). Flip down the second, fourth and sixth. String 3 11s and pass back through the open duet hole (B side). Work the row in peyote stitch: String a Duet B side, sew through the next Duet, string a Duet B side, sew through a duet, string a Duet B side, and exit through the last Duet.
2. FIG 2: Make edging on opposite side: Exiting the Duet, string 3 11/0s. Sew into the first stitched hole of the Duet, out the other hole, and sew through the first 11 in the edging just added.
3. FIG 3: Sting 2 11/0s and a Duet through the A side. Work in peyote across the row stringing 3 new Duets though the A side.
4. FIG 4: String 2 11/0s (a) and sew through the top 11 in the previous edge Duet (b). Sew through the (b) and the next Duet (c). Sew back through the other hole in Duet (c), the next Duet (d) and exit the first 11/0 added in this step.
5. FIG 5: String 2 11/s and sew through the open hole of the duet. Working in peyote, add Duets (b, c and d) across the row. Exiting the side duet (e), string 2 11/0s, sew through the 11 already in place and through the Duet (e), sew out the other hole of the same Duet and through the 11 just added.
TIP: Note how when adding the 11/0s you circle around though one Duet on one side of your beadwork strip, while on the other side you need to sew through TWO Duets in order to hide the thread loop alongside a bead.
6. FIG 6: repeat Steps 3 and 4 to add another row of Duets with edge beads.
7. FIG 7: Repeat Step 5 but string a solid colour Superduo as the second, in the middle of this row.
8. FIG 8: Repeat Step 6 but string two solid colour Superduos as the second and third bead in this row.
9. FIG 9: Repeat Step 7 but string a colour B superduo in the middle of the row. This is the centre of the diamond shape.
10. FIG 10: Repeat Step 6 but string colour A Superduos as the second and third beads in the row. Note that the diamond shape is now decreasing.
11. FIG 11: Repeat Step 7, completing the tip of the diamond shape.
12. FIG 12: Add a row of four Duets and edge beads as in Steps 6-8.
13. Repeat Steps 9-11 to add a second diamond shape.
14. Repeat Steps 12-14 to add a total of five diamond shapes.
15. FIG 13: Work rows of just Duets for a total of 5 more rows, ending with 3 duets across. Exit through the 11/0.
16. Measure now for length. Beadwork should be about 5 1/2 inches. After the tapered ends are added the beadwork will have another inch at each end of the beadwork, for a total length of 7 1/2 inches NOT INCLUDING THE CLASP. To shorten, remove stopper bead and undo a row or two, undoing the same number of rows at the other end of your beadwork. To lengthen, add more rows equally to both ends. Always end with a row of three duets.
Duets are added last because in general it is easier to decrease in peyote stitch rather than add.
TIP: Notice that your beadwork forms a natural decrease along the side, already starting to angle towards a tip from a row of four beads to a row of three beads. You need only two rows to complete the tip!
17. FIG 14: String 2 11/0s (a) and sew through the open hole of the Duet (b) previously strung. String a new Duet (c) and sew through the middle Duet (d), string a new Duet (e) and sew through the remaining previously strung Duet (f). String 2 11/0s (g) and sew through the previously strung 11 (h), through two Duets (i, f) and out the Duet (f) and the first 11 strung (g).
18. FIG 15: String 2 11/0s (a) and sew through the open hole of previously strung Duet (b). String the new tip Duet (c) and sew through the open hole of previously strung Duet (d). String 2 11/0s (e) and sew through the 11/0 (f) previously strung, and through previously strung Duet (g). Weave in the thread to secure and trim.
19. Repeat Steps 17-18 to add the tapered tip at the other end of the bracelet.
TIP: Use all 11/0s or alternate with 8/0s as described, a design option.
20. FIG 16: String a stopper bead on a new 20-in piece of thread, leaving enough tail to weave in later. Sew through one of the middle “out” beads in the picot edging (a). String alternating between an 11/0 and an 8/0 bead between each middle out bead along the picot edge.
At the tip, sew though the duets to access the other side, and continue to add the 11/0s and 8/s along the other side (b). Meet the starting thread, remove the supper bead, and sew through the first few newly added edge beads. Weave in both tails to secure and trim.
21. FIG 17: Secure a new 12-in piece of thread to exit the duet and 11/0 in the next to last tip row (a). String 2 11/0s and sew through the tip duet. String one clasp loop and sew through the tip duet again. Repeat once more to secure the clasp to the tip duet. String 2 11/0s (b) and sew into the edge 11/0 previously strung, and the duet (c). Weave in the tail to secure and trim.repeat to add the other part of your clasp to the other end of the bracelet.
© 2016 Leslie Rogalski All Rights Reserved
Images: Andrew Wirth