-
Your shopping cart is empty!
Processing time for new orders is approximately 2 business days. Please allow shipping time on top of processing time, and if your order is extra urgent we have a 'Rush my Order' option at checkout.
Download Printable Version (PDF)
If you are new to wire-wrapping, learning to capture a bead onto a headpin is one of the first steps to mastering techniques you will enjoy forever. Rather than just making a loop with round nose pliers, a wrapped loop gives a professional and secure finish to the wire & bead.
Materials Required: Bead of your own choice, 24 or 26ga 1.5 – 2 inch (30-50mm) headpin (24-26 gauge is the easiest to wrap – any thicker will make the loop bulky and will be difficult to bend and wrap). Tools: Chain Nose Pliers, Round Nose Pliers.
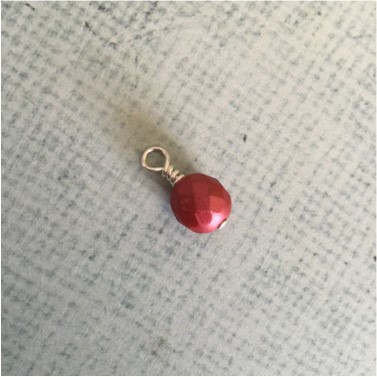
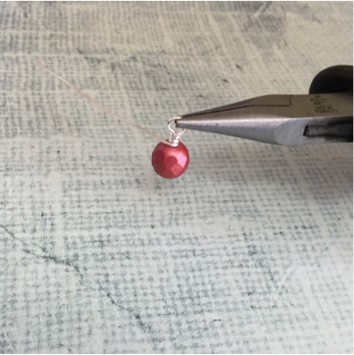
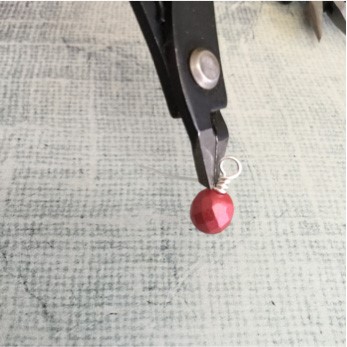
This is the completed wire-wrapped bead on a headpin. These little drop beads can be used as drops for earrings, necklaces or bracelets, or if looped both sides can be used as a link. If making links it is easiest to use either a long headpin or a piece of wire.
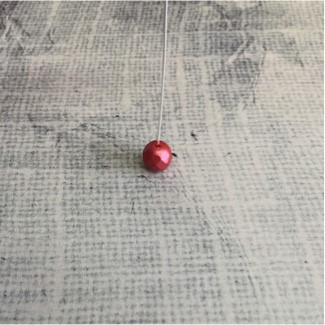
Step 1
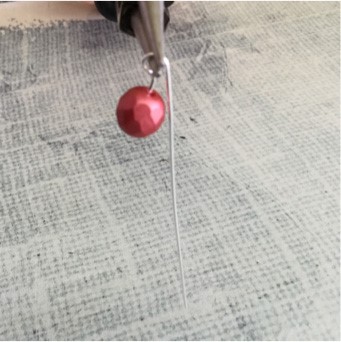
Thread your bead or beads onto the headpin. Make sure you leave at least an inch of wire above the last bead.
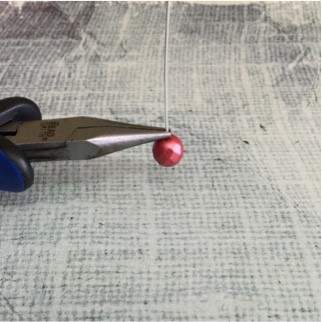
Step 2
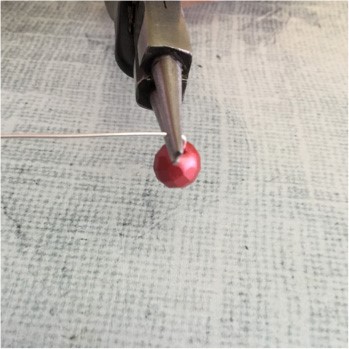
Using the tip of your chain nose pliers, hold the wire directly above the bead,
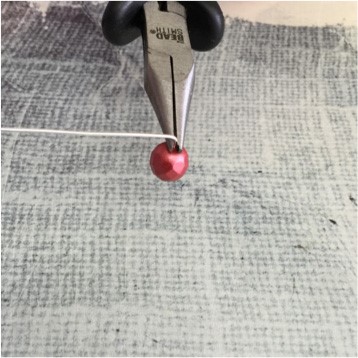
Step 3
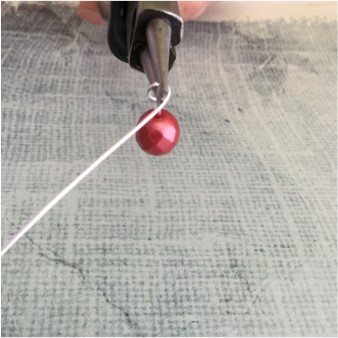
With your finger gently push the wire to a 90 degree angle.
Step 4
Now use your round nose pliers and hold the wire at the bend in the wire.

Step 5
Gently push the wire around the round nose pliers until it is almost pointing down.
Step 6
Reposition the pliers by pivoting them so your pliers are now holding the loop from the centre and top.
Step 7
Gently guide the wire around the nose of the pliers until the loop is completely round.

Step 8
To wrap the loop hold the top of the loop with the chain nose pliers and hold the tip of the wire with your fingers.
Step 9
Wrap the wire around the head pin, and continue to the top of the bead.
Step 10
Trim off the excess wire with your wire cutters as close to the bead as possible.
You now have your finished wrapped bead!